
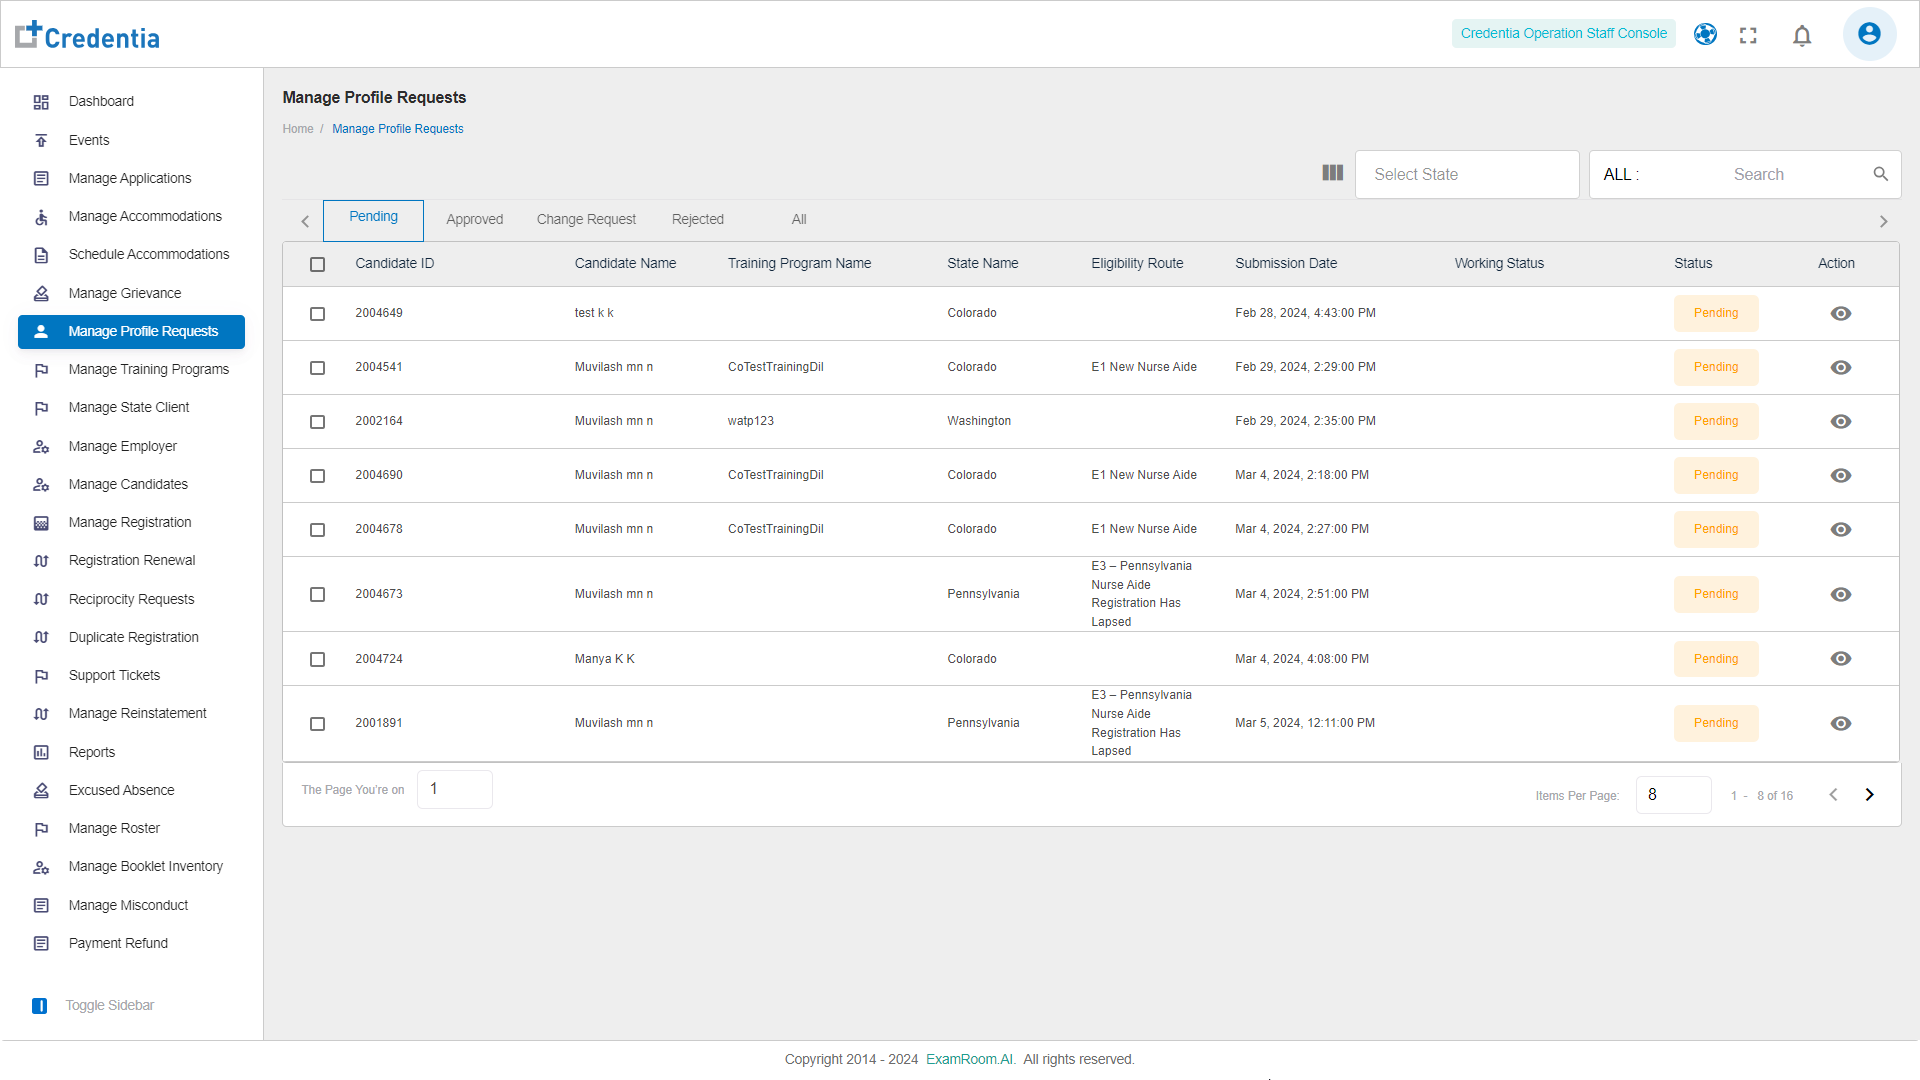
Approve or reject the profile request
- Click Manage Profile Requests from the left menu.
Note: The application displays a Manage Profile Request page. - Click
the View icon.
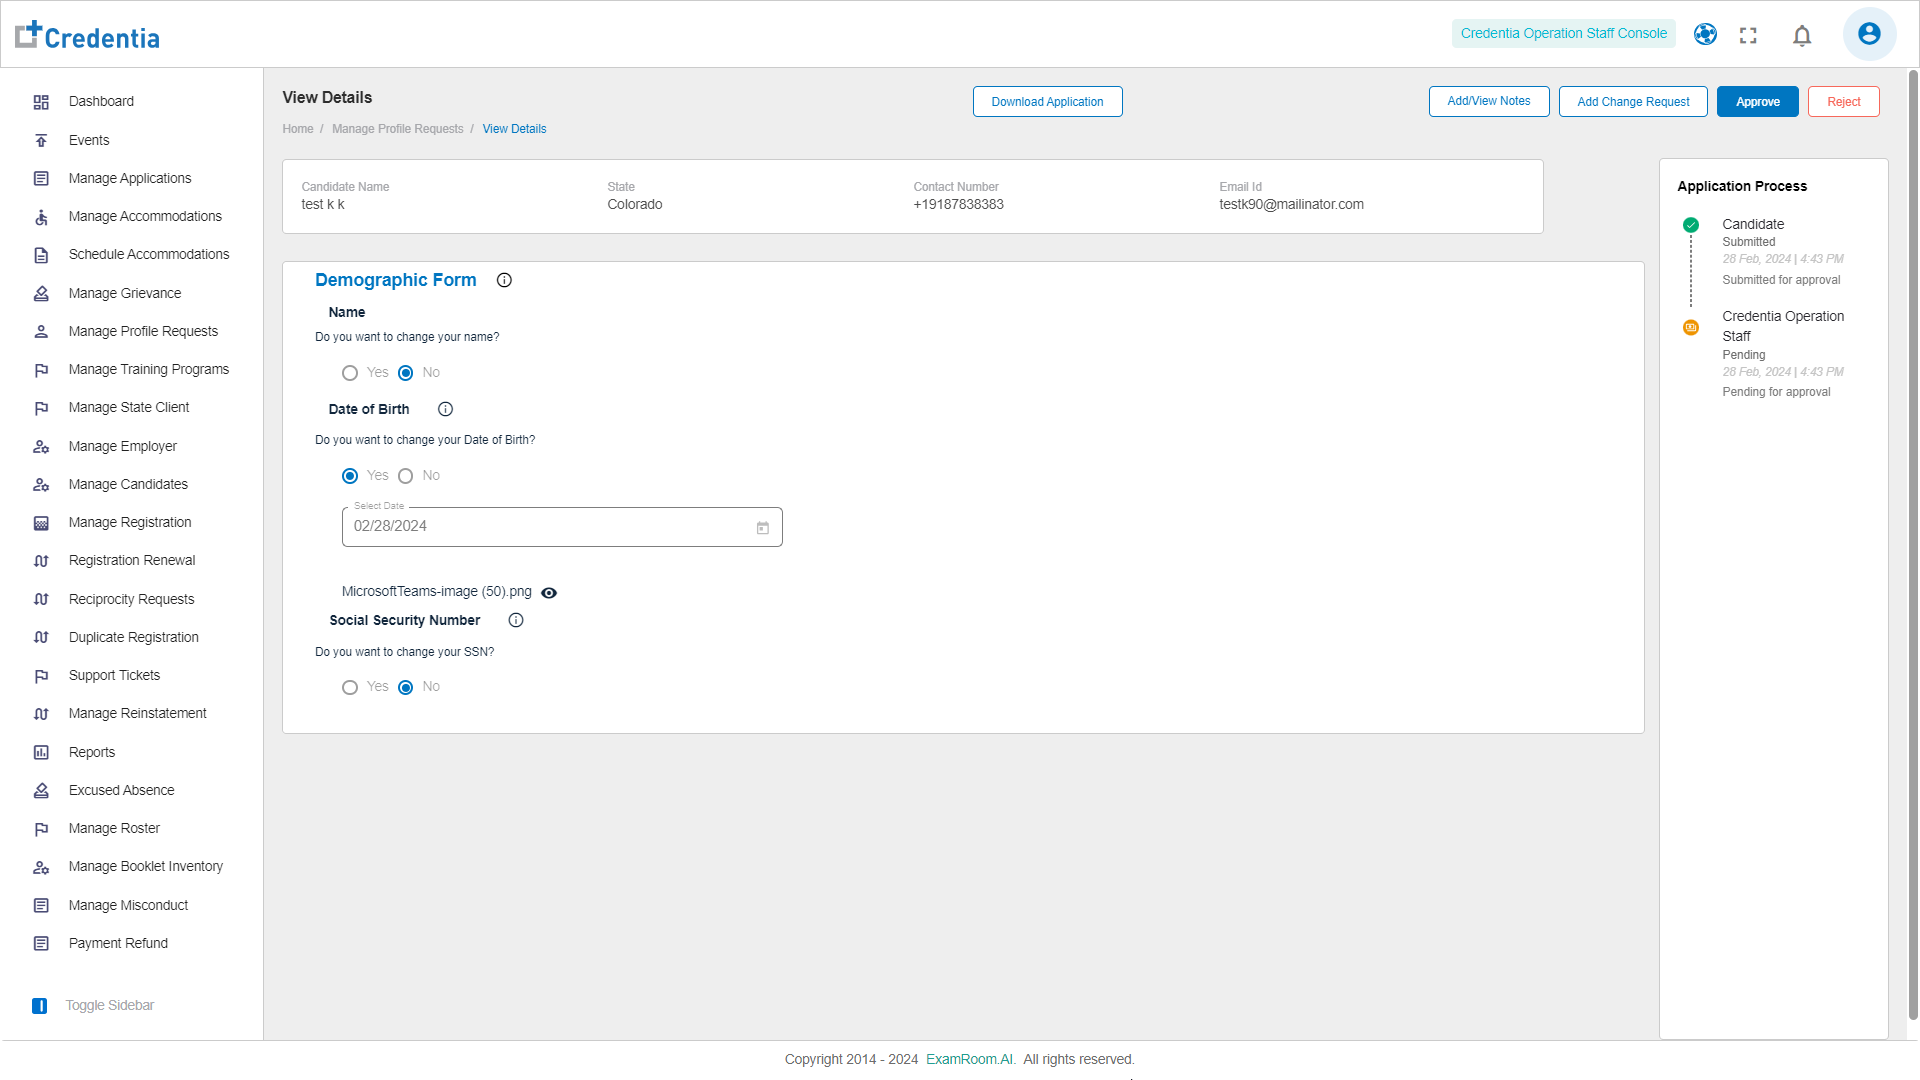
Note: The application displays the View Details page. - View the Candidate details such as:
- Candidate Name
- State
- Contact Number
- Email ID
- View the selected Candidates' Demographic Form
- View the Application Process.
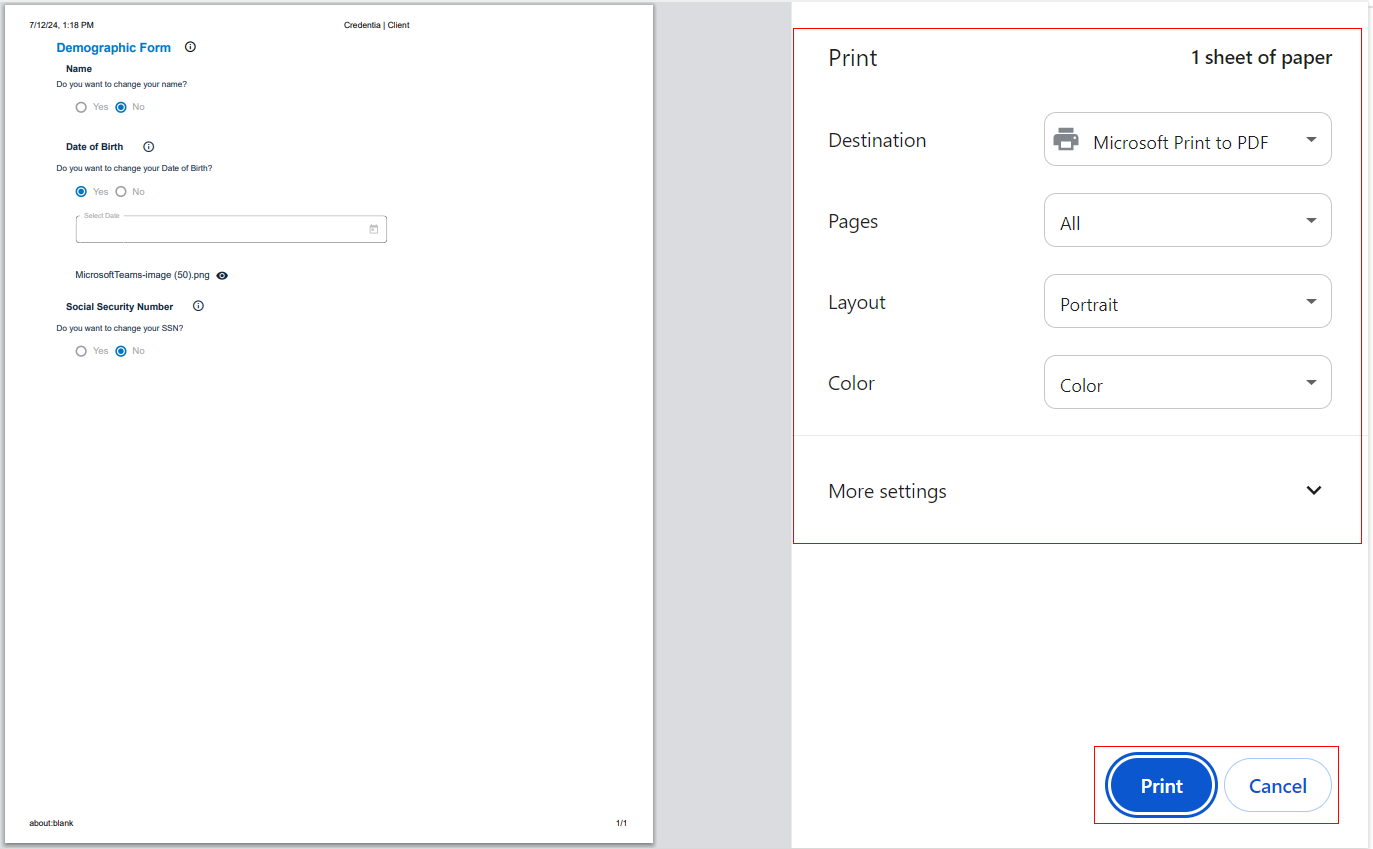
Note: In the application process section, you can see whether the application has been submitted, drafted, or pending, along with relevant dates. - Click Download Application.
Note: The application displays the Print page. - Click Print to print a hard copy of the application.
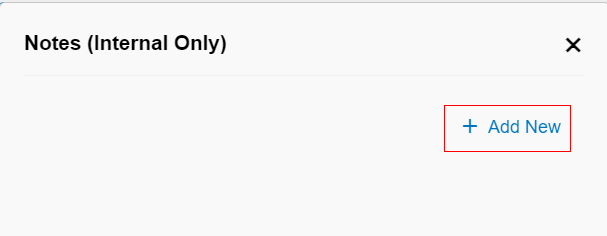
- Click Add/View Notes.
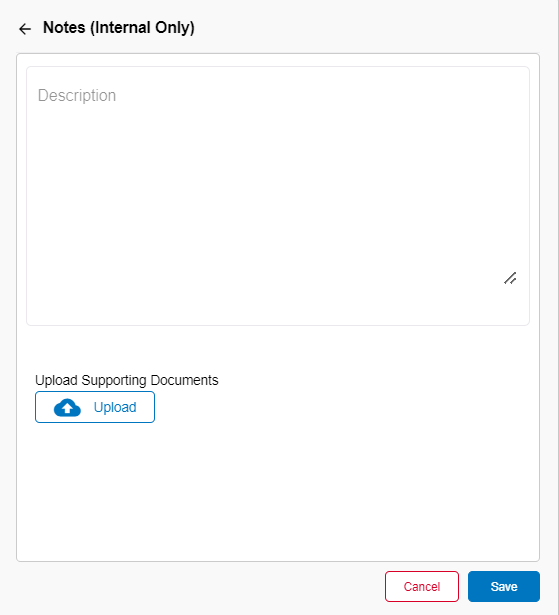
Note: The application displays a Notes (Internal Only) popup.
- Click Add New.
- Enter the Description.
- Click Upload to upload the Supporting Documents.
- Click Save.
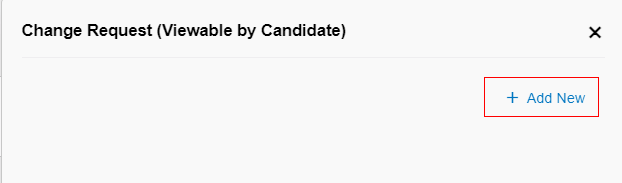
Note: Once a note is saved, internal users can view the notes. - Click Add Change Request.
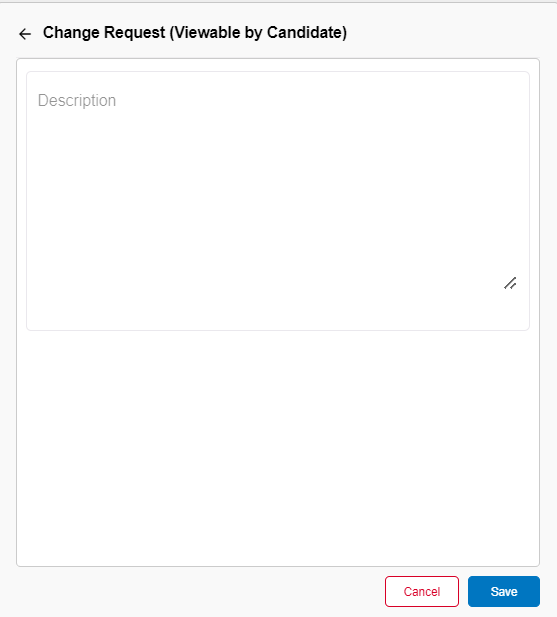
Note: The application displays a Change Request (Viewable by Candidate) popup. - Click Add New.
- Enter the Description.
- Click Save.
Note: Once the Change Request is saved. Candidates can view the comments. - Click Approve to approve the application.
- Click Reject to reject the application.
Note:
- You need to verify the application of the candidates before approving the application.
- Once the application is approved, the Candidate can view the updated changes in their profile.