Manage Candidates
Operation Staff can view all candidate details across all states. Additionally, exams can be scheduled on behalf of candidates.
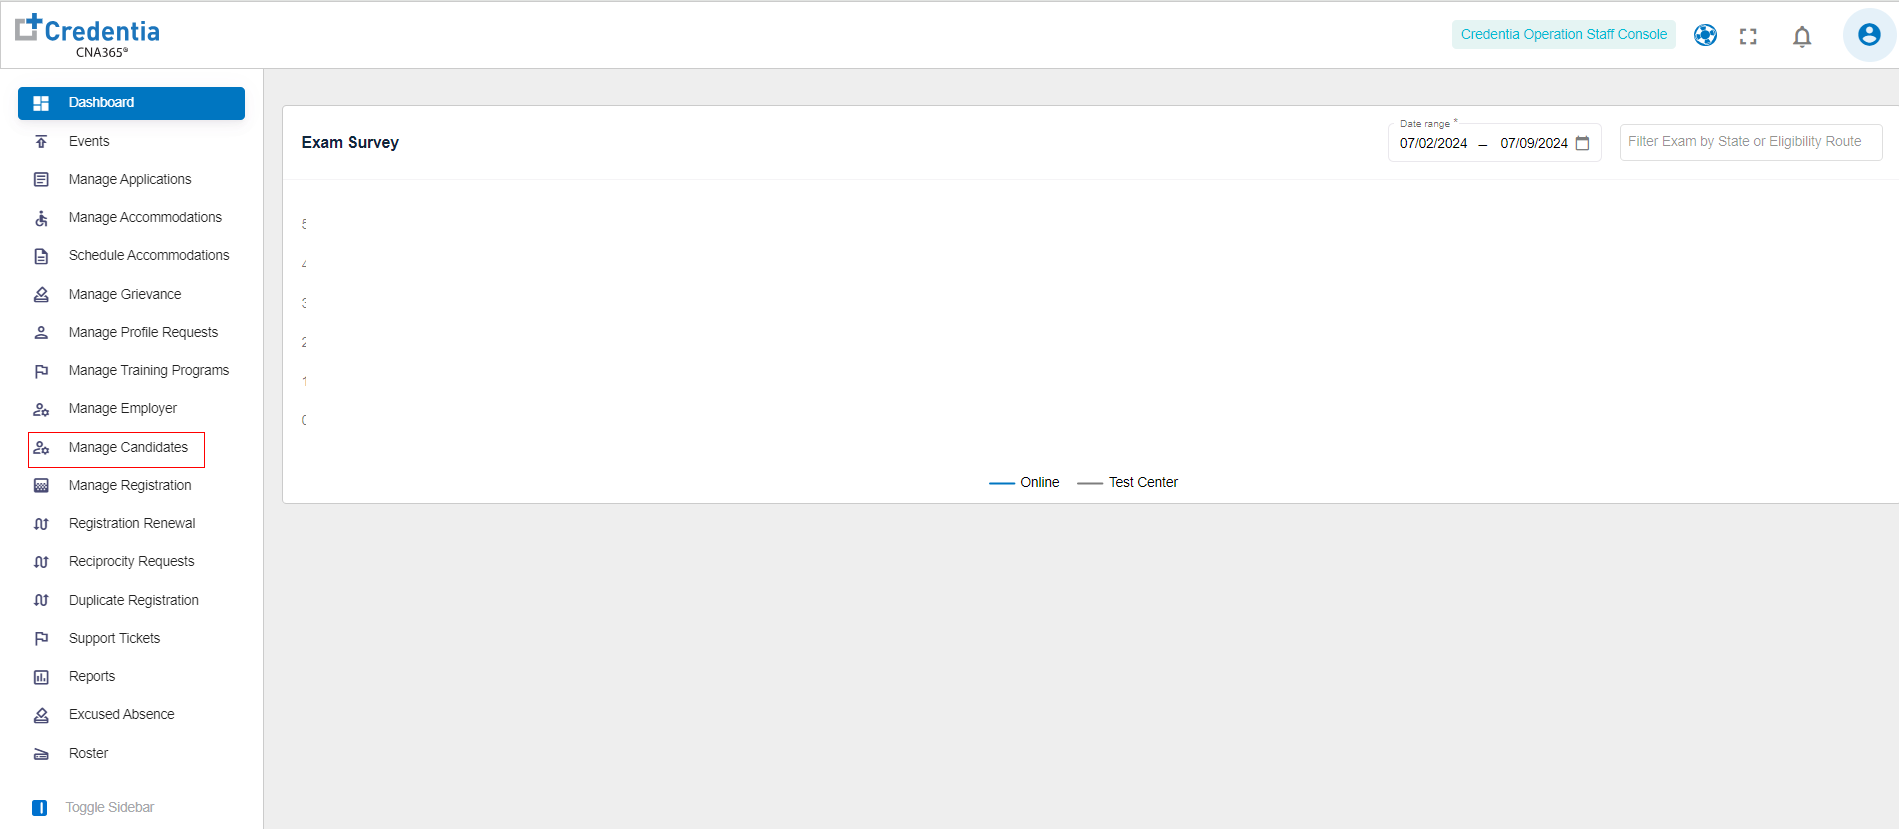
- Click Manage Candidates.
Note: The application displays the manage candidate’s page. - Click
the Slide Drawer icon to customize the headers.
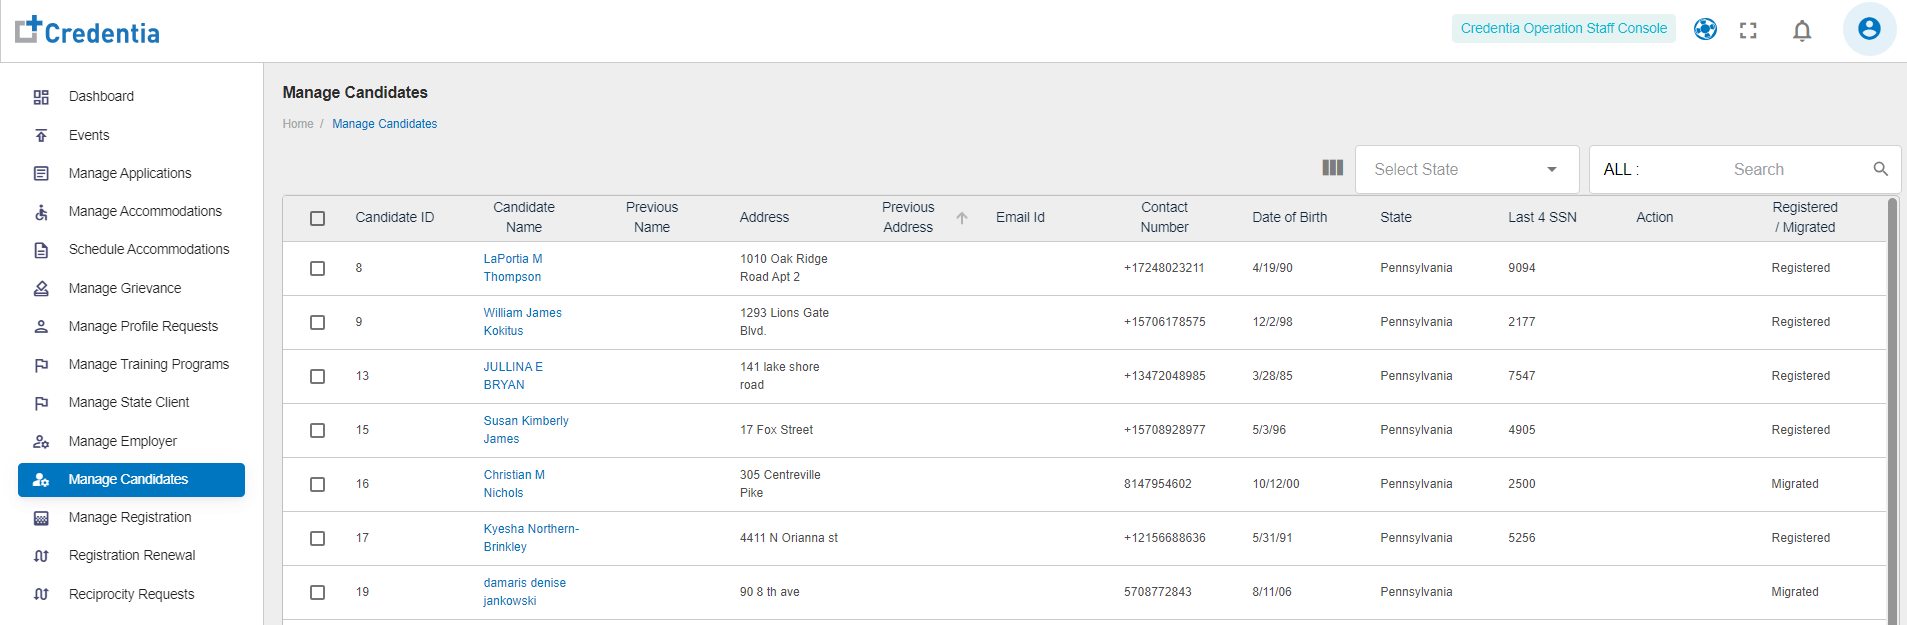
- Click on checkboxes to customize the display headings:
- Candidate ID – Displays the unique identification number assigned to each candidate.
- Candidate Name – Shows the full name of the candidate.
- Previous Name – Displays any previous name the candidate.
- Address – View the current address of the candidate.
- Previous Address – Shows the candidate’s previous address, if applicable.
- Email Id – Displays the candidate’s registered email address.
- Contact Number – Shows the candidate’s contact phone number.
- Date of Birth – Indicates the candidate’s date of birth.
- State – Specifies the state where the candidate.
- Last 4 SSN – Displays the last four digits of the candidate’s Social Security Number for identification.
- Action – Options to manage the candidate’s profile.
- Registered/Migrated – Shows the status of the candidate, whether registered or migrated.
- Filter the list either by selecting the State or by entering the Candidate ID, Candidate Name, Previous Name, Address, Previous Address, Email Id, Contact Number, Date of Birth, and Last 4 SSN.
- Click on the Candidate Name hyperlink.
- View the Candidate details and click Edit icon to edit the Email Id.
- View the following section in the candidate details page.
- Application Details
- Exam Details
- Registration Details
- Support Tickets
- Email Sent


Application Details
- Click Application Details section to add new application on behalf of candidate.
- View the following details.
- Application Name
- Application Id
- Status
- Currently Working
- Action
- Click
View icon to view all the applications that the candidate has raised.
- Click
Delete icon to delete the candidate application.
- Click
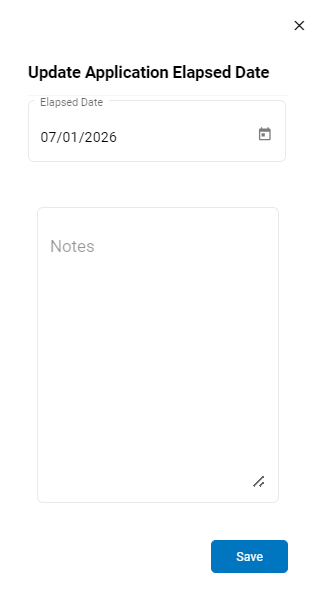
Extend Elapsed Time to update the application elapsed date.
- Select the Elapsed Date from the date picker.
- Enter the Notes.
- Click Save to update the application elapsed date.
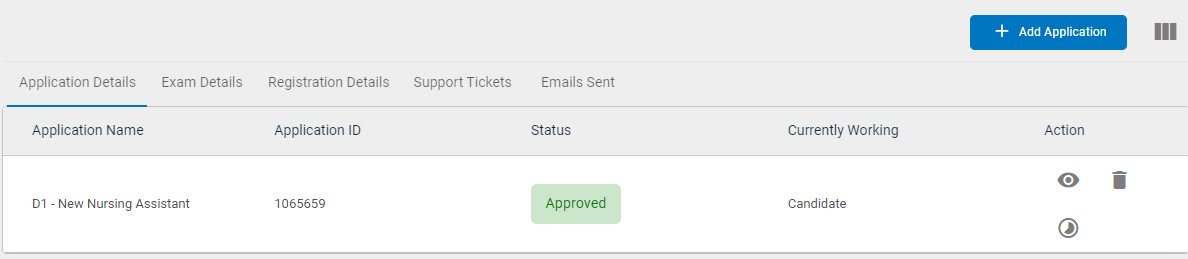
Add Application for Candidate
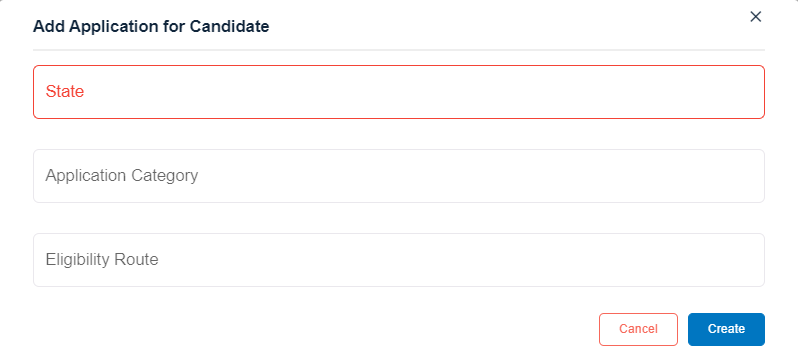
- Click Add Application to add more applications.
Note: The application displays Add Application for Candidate Popup. - Select State, Application Category and Eligibility Route from the dropdown.
Note: Based on the selected State the system displays the Eligibility Route. - Click Create.
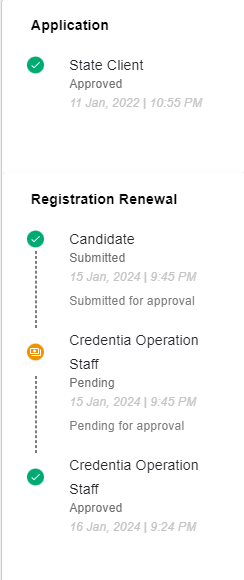
Note: The application displays the created application in Candidate details page. - View Application process.
Note: In the application process section, we can see whether the application has been submitted, drafted or pending, along with relevant dates.
Exam Details
- Click Exam Details section.
- View the following details in the Exam Details section.
- Exam Name – View the name of the exam.
- Mode – View the mode (online or test center) on which the candidate has taken the exam.
- Test Center Details – View the details of the test center.
- Exam Date/Time – View the date and time of the exam.
- Time Zone – View the time zone that the candidate has taken.
- Exam Status- View the status of the exam.
- Action – View the exam result.
- Comments – View comments, if any.
- Click
Reschedule icon to reschedule the examination.
Note: For scheduling an exam refer step 12 to 42 in Schedule Accommodations - Click
Cancel icon to cancel the scheduled exam.

Registration Details
- Click Registration Details section.
- View the following details in the Registration Details section.
- Registry Name – View the name of the registry
- Certification Number – View the number of the certificate.
- Start Date – View start date of the certificate.
- End Date – View end date of the certificate.
- Status – View the status as active or inactive.
- Action - Options to manage the registration.
- Renewal – View the registration renewal.
- Click
View icon to view all the training certificates.
- Click
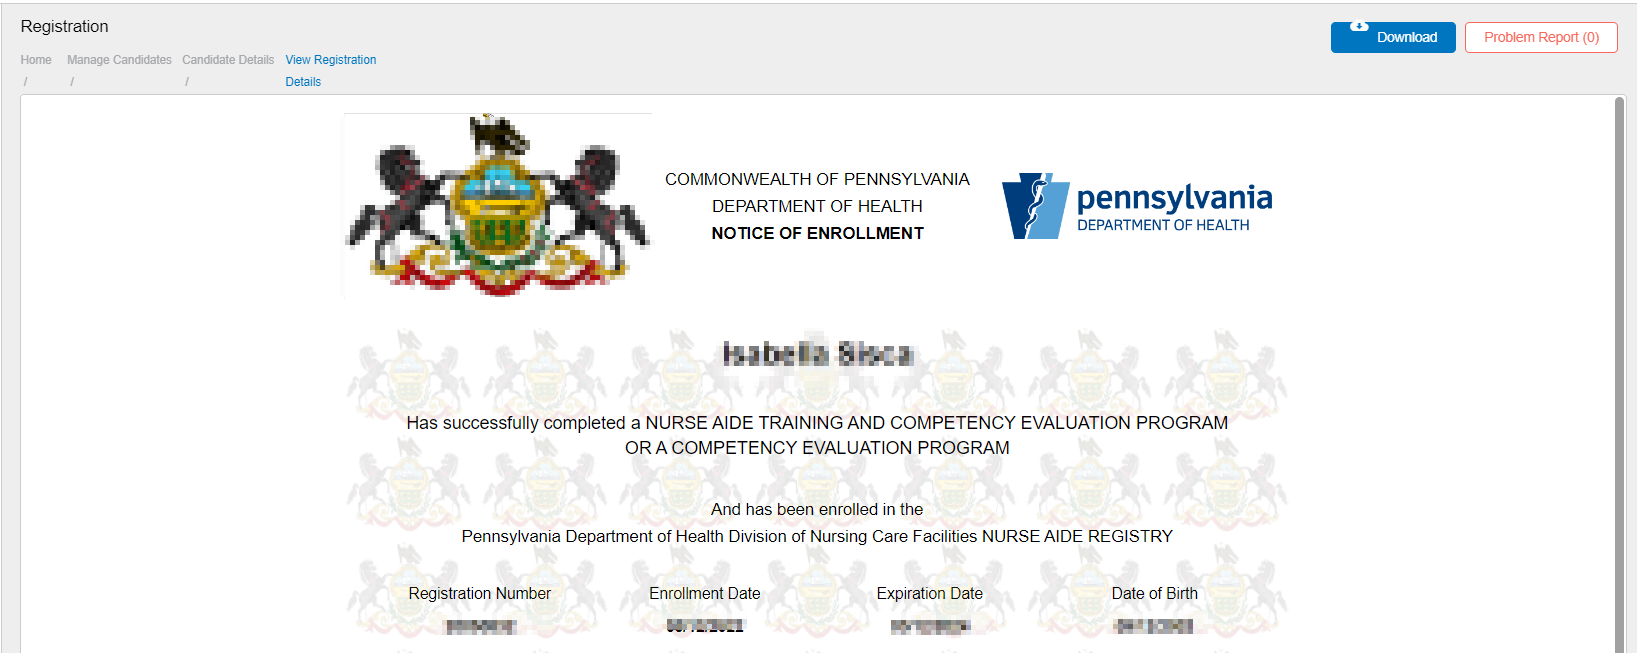
Renewal icon to renewal the training certificate.
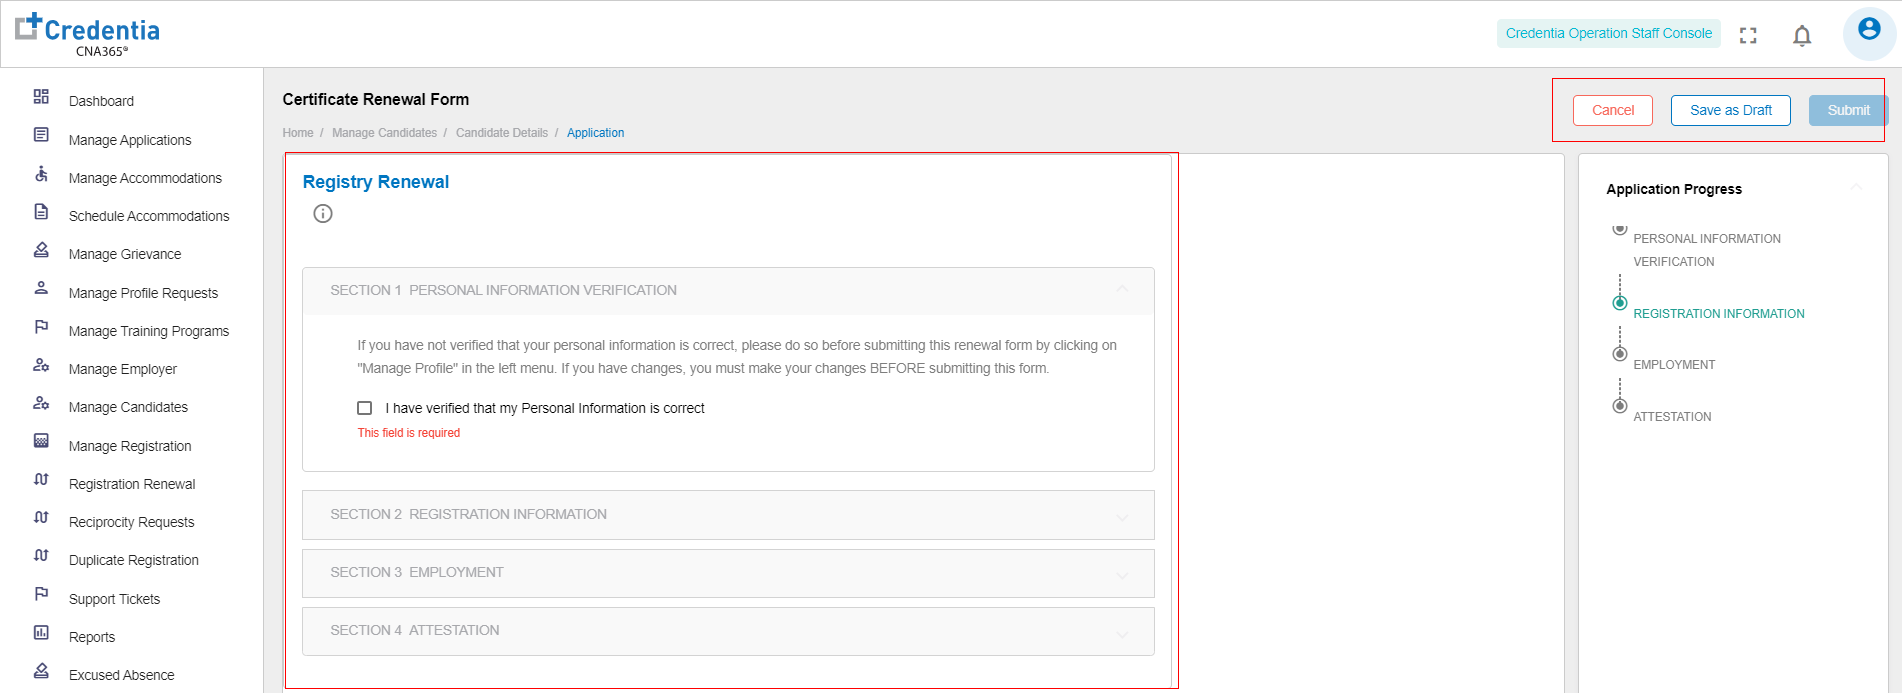
Note: The application displays the Registry Renewal form. - Fill in the mandatory details on the Registry Renewal form.
- Click Save as Draft to save the application for late use.
- Click Submit to submit the application for renewal.

Support Tickets
- Click Support Tickets section.
- View the following details in the Support Tickets section.
- Assigned To
- Description
- Status
- Subject
- Created Date
- Action
- Click
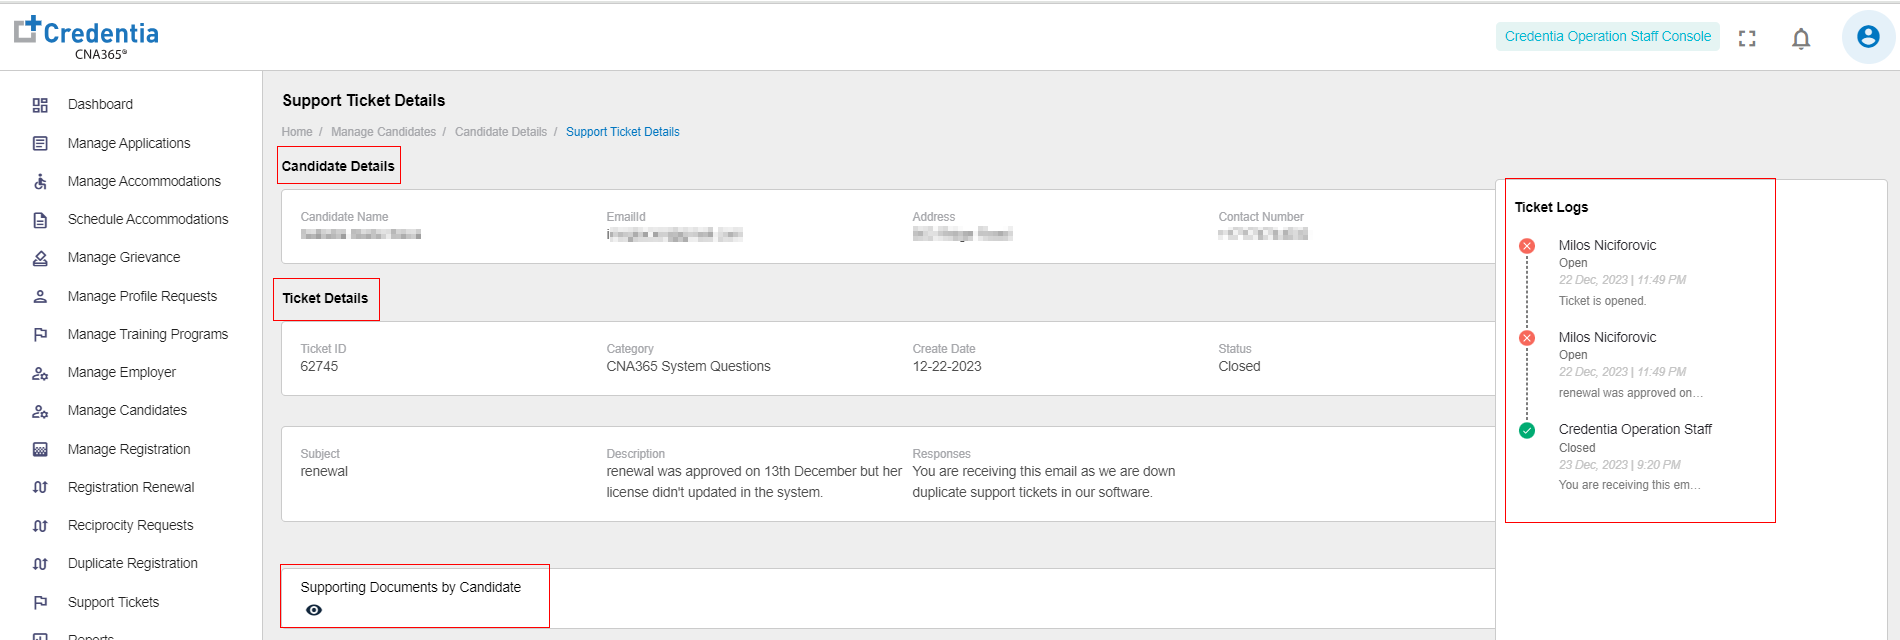
View icon to view the Support Ticket Details.
- View the following details on the Support Ticket Details page.
- Candidate Details – View the candidate details such as Candidate Name, Email Id, Address, and Contact Number.
- Ticket Details - View the ticket details such as Ticket ID, Category, Created Date, Status, Subject, Description and Responses.
- Supporting Document by Candidate – View if there are any attachments.
- Ticket Logs – View the status as Open or Closed.

Email Sent
- Click the Email Sent section.
- View the following details in the Email Sent section.
- To
- CC
- Bcc
- Created On
- Subject
- Action
- Click
View icon to view all the Email Sent to that candidate.