Customize Excused Absence Header
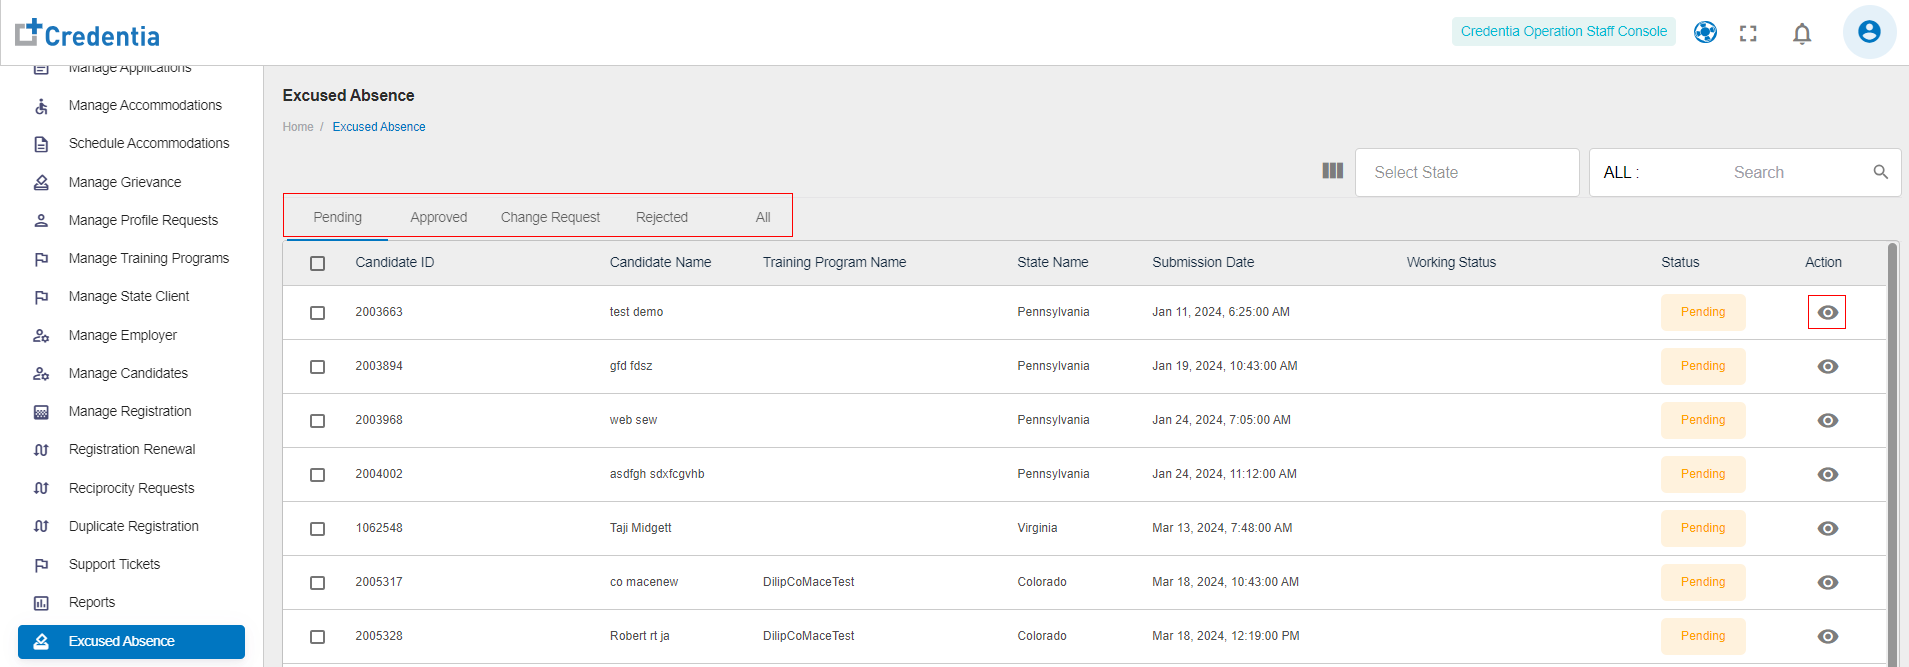
Excused absence applications can be approved or rejected by the respective state.
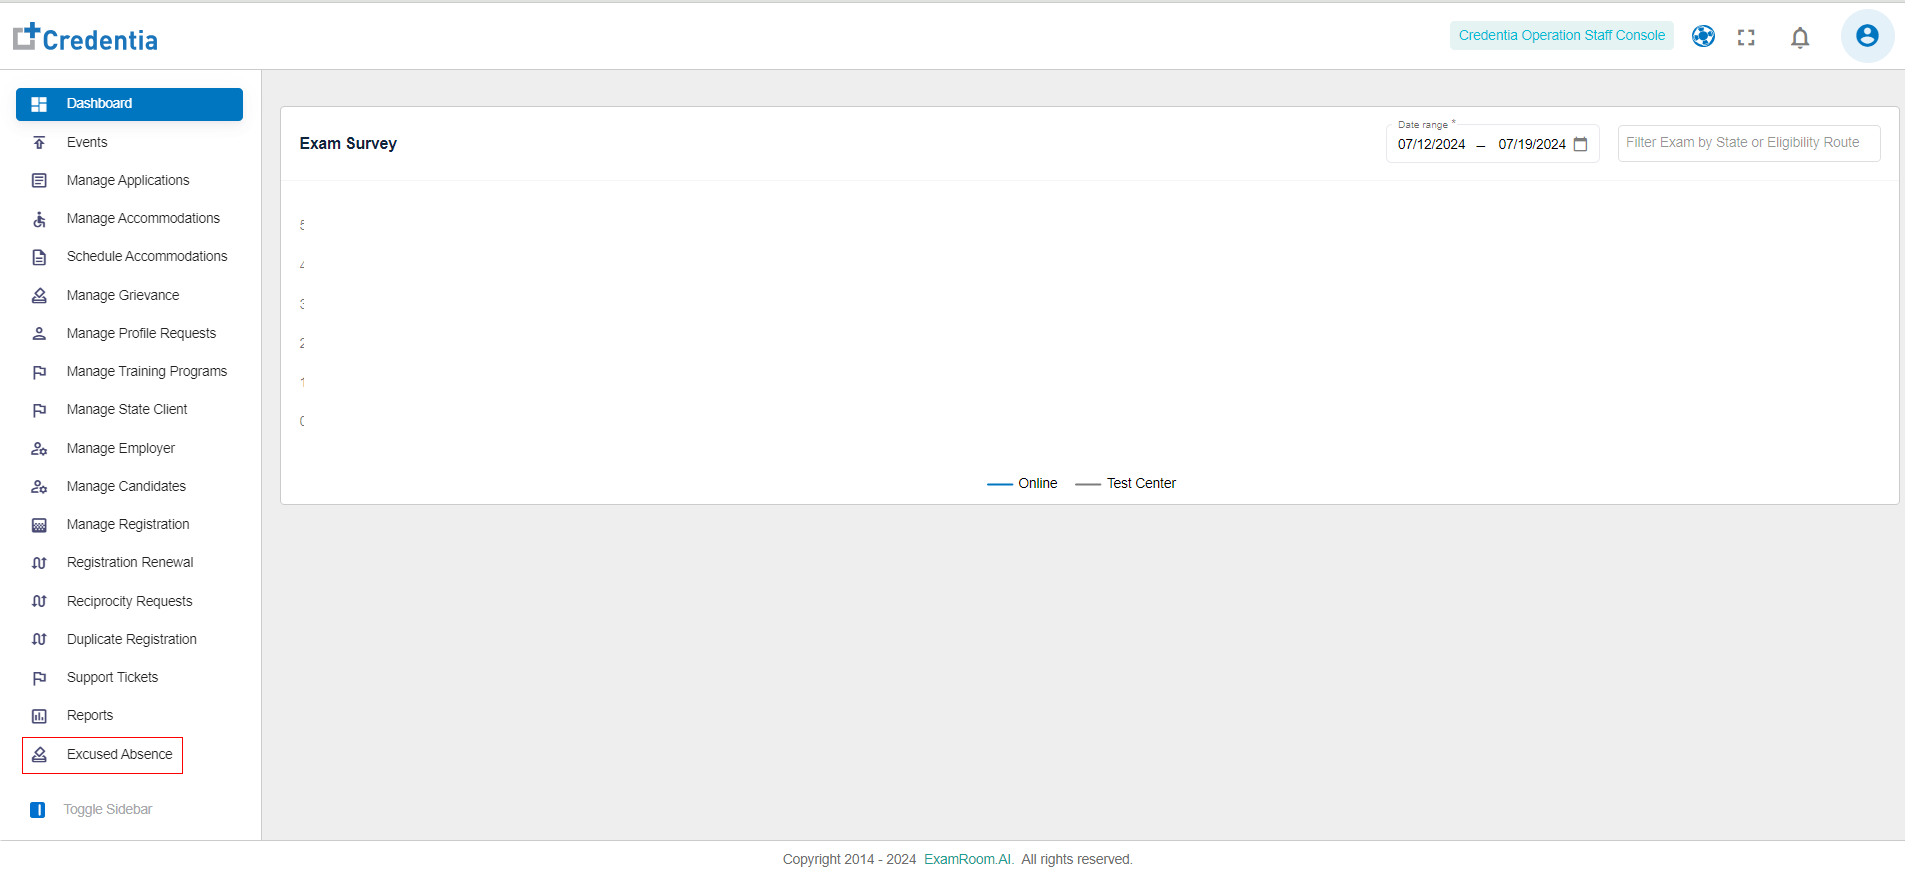
- Click Excused Absence.
Note: The application displays the Excused Absence page. - Click the
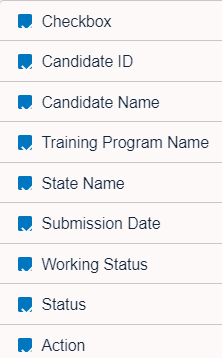
Slide Drawer icon to customize the headers.
- Click on checkboxes to customize the display headings:
- Candidate ID – A unique identifier assigned to each candidate.
- Candidate Name – Displays the full name of the candidate requesting an excused absence.
- Training Program Name – The name of the training program the candidate is enrolled in.
- State Name – Specifies the state where the training is being conducted.
- Submission Date – The date when the candidate submitted the excused absence request.
- Working Status – Indicates whether the candidate is currently employed or notthe name of the Support staff that has viewed the request or is working on the request.
- Status – Shows the current status of the excused absence request.
- Action – Options to manage the request.
- Filter the list either by selecting the State or by entering the Candidate ID, Candidate Name, and Training Program Name.
- Click on any one of the following options to filter the application based on the application Status.
- Pending: Click to view only the pending application.
- Approved: Click to view only the approved application.
- Rejected: Click to view only the rejected application.
- Change Request: Click to view only the change request application.
- All: Click to view all the applications.